Six ways to keep your B&D garage door in good condition
Your garage door does a lot of work, often every day. A little routine care helps it look its best, while professional servicing keeps its moving parts working together. Here are six ways to care for your B&D door and opener—and know when it’s time to call us.
1. Notice changes in sound and movement
Watch the door from a safe position during normal use. Look for smooth movement and listen for any change from its usual sound. A new scrape, bang, rattle, jerk or hesitation deserves attention. Do not keep cycling a door that looks damaged or has started moving unevenly.
Stop using it if you notice a damaged cable, broken spring, displaced component or unusual heaviness. Keep clear and arrange a repair. There is no need to pull the release or lift a suspect door to prove that something is wrong. Our unusual-noise guide explains the warning signs.
2. Wash the external surface regularly
Our between-service guidance recommends washing the outside with clean water and a soft brush or cloth every 14 days, and more often near the coast. Remove salt and grime rather than relying on rain to wash sheltered areas. Use a compatible mild detergent when needed, rinse well and avoid abrasive pads or harsh chemicals.
Follow the instructions supplied for your finish. Painted steel, timber, specialty cladding and window inserts may need different products. Our sectional-door cleaning guide covers preparation, panels, accessible tracks and seals.
Start cleaning with a healthy door closed. Isolate all opener power supplies as its manual directs, including a fitted backup battery. Do not wet the motor, controls, wiring or electrical fittings, and keep fingers out of panel joints and moving parts.
3. Keep tracks and seals clear
Remove loose debris from accessible tracks and gently wipe accessible seals. Check from a safe position for damage, gaps or parts pulling away. Do not bend a track back into shape, loosen a bracket or adjust a lifting cable.
Some of our care instructions specify mineral turps or methylated spirits for particular guide-track surfaces. Check the correct door instructions and finish compatibility before using those products. They are not a general cleaner for panels, glazing or every seal.
Do not grease the lock or pack tracks with grease. A sticky or noisy door needs its cause checked; adding lubricant cannot correct a bent track, failed spring or misalignment.
4. Use the right lubricant in the right place
| Component | Care guidance |
|---|---|
| Suitable sectional-door hinges | Our how-to guide recommends all-purpose machine oil such as Inox. Use the door-specific instructions, apply sparingly and wipe off excess. |
| Roller-door guides covered by manual 161061_05 | Silicone spray is the specified lubricant. That manual excludes WD-40, RP7 and petroleum grease from the guides. |
| Rollers, seals and specialty finishes | Check the component material and the door’s instructions. Do not treat a nylon roller or a decorative surface like a steel hinge. |
| Springs, cables, drums and tensioned hardware | Leave servicing, adjustments and replacement to a trained technician. |
The distinction matters: RP7 appears in some hinge-care guidance, but that does not make it suitable for roller-door guides. Ask your technician to show you the permitted owner-care points on your actual door.
5. Follow your model’s safety-check schedule
The current Power Drive/Roll-A-Pro and Smart Pro/Smart/Secure manuals call for monthly safety testing. Their closing-obstruction test specifies an approximately 40 mm high timber obstruction on the floor under the door; the door should contact it and reopen. Follow the full test procedure for your model, keep everyone clear and never use a person or body part as the obstruction.
If the door does not reverse correctly, stop automatic operation and contact a technician. Do not increase force settings, bypass a beam or keep repeating a failed test. If you are unsure how to test safely, have your dealer demonstrate it.
For a mechanically sound door, the manual also describes checking manual operation. Disengage only as instructed, preferably with the door fully closed and the doorway clear. The door should move smoothly by hand; if it is difficult, unbalanced or damaged, stop. Do not attempt a spring adjustment. A manual-release check is not appropriate for a suspected broken spring.
Safety beams, contact obstruction sensing and any fitted automatic lock have different functions. Check the applicable accessory instructions as well; one working feature does not prove every safety component is working.
6. Book professional services and keep the records
We recommend a professional service within the first 12 months after installation and at least every two years thereafter. Model-specific manuals and usage can require earlier attention. Both opener manuals linked below list the first service at 12 months or 3,000 cycles, followed by scheduled services at years three, five, seven and nine. Your technician records cycle counts to help set the next service date.
A standard door and opener service is described on our service page as taking around 30 minutes. It includes checks and adjustments of:
- Critical moving parts and appropriate lubrication.
- Door mounting points, fixings, cables and connectors.
- Spring tension and door balance.
- Opener travel limits and force settings.
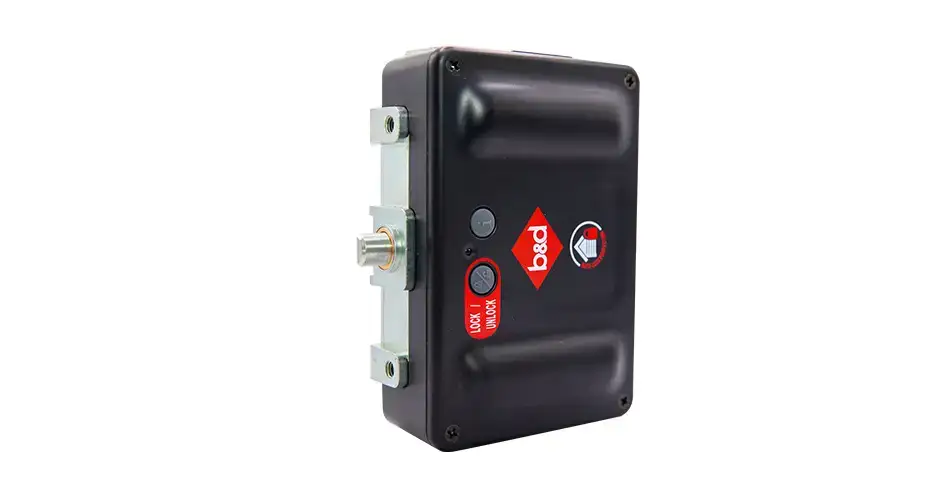
- Safety equipment and fitted accessories such as safety beams and AUTO LOCK.
- Door alignment and causes of irregular operation.
That is the technician’s checklist. It is not a list of adjustments to attempt yourself. Repairs and replacement parts identified during inspection may need a separate quote; servicing does not automatically include replacing every seal, spring or cable.
Keep your installation details, warranty registration and service records together. Check the warranty information and certificate supplied with your product for the applicable terms. Do not wait for the next scheduled service if the door develops a fault.
Your model-specific reference
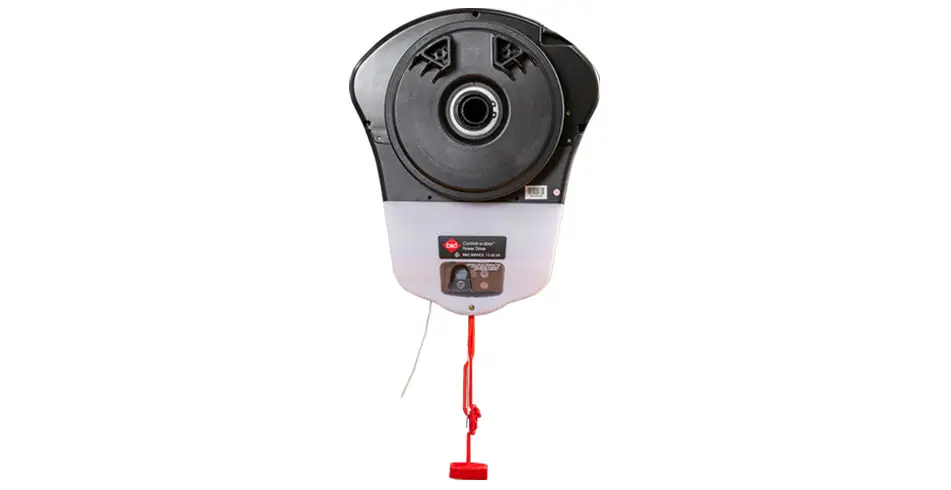
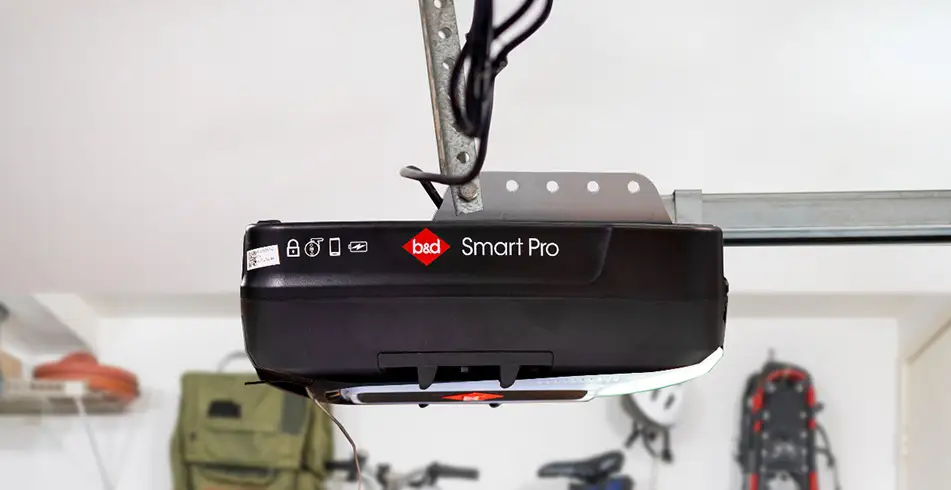
Match the model on your opener’s label before using any instructions. Our Power Drive RDO-1V4 and Roll-A-Pro RDO-1V3 manual (161061_05) and Smart Pro SDO-9V3, Smart SDO-7V3 and Secure SDO-6V3 manual (161083_02) cover different controls. For another model or generation, use our owner manuals or ask us for help.
In manual 161061_05, see section 11 for safety tests and section 22 for after-installation care. In manual 161083_02, see section 13 for safety tests and section 22 for care. For a different opener generation, use its own manual.