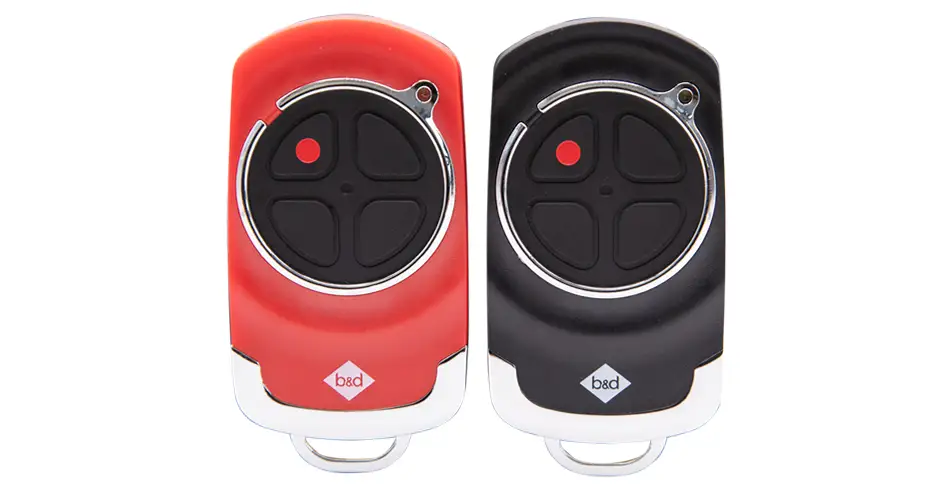
Erase all remotes from a B&D sectional opener
Lost a remote or moving into a new home? Clearing the stored transmitters lets you choose which controls to register again. We’ll take you through the process for the sectional models below. Have the remotes you’re keeping ready, and arrange another way into the garage before you start.
Urgent repair help · Call 13 62 63
Check your opener model
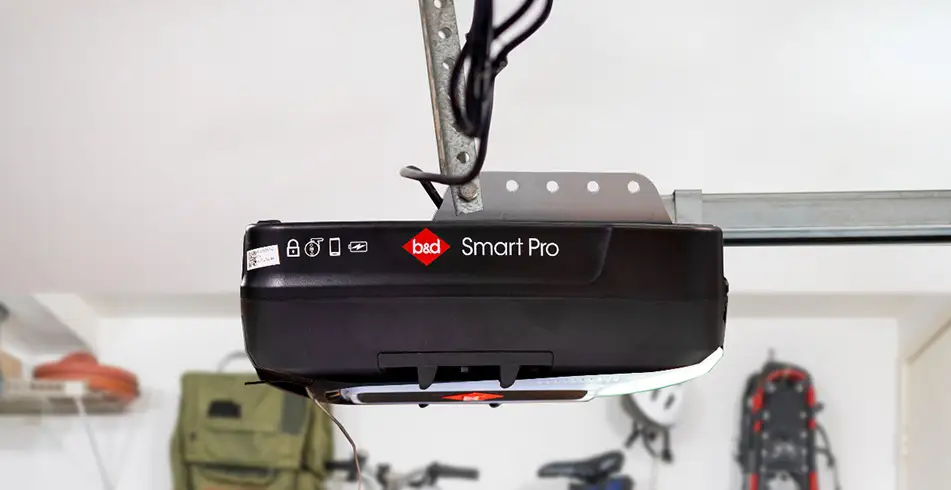
Applies to Secure SDO-6V3, Smart SDO-7V3 and Smart Pro SDO-9V3. Check the model/version label and match the controls to the linked manual before starting. A familiar product name or remote appearance alone does not establish compatibility.
This procedure does not cover every older B&D opener, PanelMax, commercial operator or gate motor. Use the instructions for that exact model. Roll-A-Door Secure and installations with an automatic lock also need their separate lock/system procedure.
Understand what will be removed
All stored transmitter codes will be erased. This includes compatible wireless wall transmitters stored in that memory, so they need to be coded again. You do not need to erase all controls just to add another remote.
This procedure clears the stored transmitters. It does not reset the whole system, so check smartphone users, external access controllers and keypads separately when you’re reviewing who can enter your garage.
Prepare before erasing
Work only on a sound door with its travel path clear and in view. Use safe access to the owner controls; if you cannot reach them safely, ask an installer for help. Remove only the small controls cover shown in the manual, not the motor housing. Keep children away and be ready for door movement when a remote is pressed.
- Keep another entrance available so you do not lock yourself out.
- Collect the compatible remotes and wireless wall control you want to retain.
- Make sure you have the correct re-coding instructions before proceeding.
Erase every transmitter code
- Remove the opener’s controls cover.
- Press MODE repeatedly until the remote indicator is lit.
- Press and hold MODE for 10 seconds. Release it when the flashing and beeping stop.
- Before re-coding, stand clear with the door in view and test a previously registered remote. It should no longer operate the door. If it still works, stop and ask for help.
- Follow the matching coding procedure to re-register only the controls you want to keep. Refit the controls cover and test each retained control.
Check the result before relying on it
Confirm removal before re-coding, then check every retained control after registration. If the erase indication differs or a removed control still operates the door, contact us before treating access as revoked.
Re-code a handheld remote · Re-code a wireless wall transmitter
If the controls, indicators or release mechanism differ from this guide, stop and find your model’s manual or call us on 13 62 63. Have the opener model/version, remote or accessory model and the symptom ready. For damage or repeated faults, arrange a repair.
Your manuals and helpful downloads
- Section 15.3: erasing all transmitter codes, page 17
- Section 15.1: registering retained transmitters
- More from B&D
Keep the guide for the model and equipment fitted to your garage. The documents below include the diagrams, full warnings and installer information to support the steps above.
Images on This Page
-
https://api.fouanalytics.com/api/noscript-2080i4coynpv51kq7epl.gif
(no alt text)
-
https://admin.bnd.com.au/media/kvqhfp5m/bd_80years-logo_2026_dark.png?rmode=max&width=2212&height=722
(no alt text)
-
https://admin.bnd.com.au/media/zdmj44kf/showrooms.svg
bnd-showrooms
-
https://admin.bnd.com.au/media/k2bhaqq2/bd-roll-a-door-night-sky-inside.webp?rmode=max&width=0&height=0
Reliable as Can B&D Roll-A-Door Garage Door Interior in Night Sky
-
https://admin.bnd.com.au/media/iigb25uj/bd-panelift-icon-basalt-nullabor.webp?rmode=max&width=0&height=0
Safe as Can B&D Panelift Section Door in Nullabor Basalt
-
https://admin.bnd.com.au/media/2jombqn1/bnd-designer-finishes-sheer-panel.webp?rmode=max&width=4546&height=2564
Bnd-Designer-Finishes-Sheer-Panel
-
https://admin.bnd.com.au/media/0fel4abo/bd-roll-a-door-series-2-commercial-warehouse-forklift.webp?rmode=max&width=951&height=490
Safe as Can B&D Forklift in front of a Series 2 Commercial Roller Door Home
-
https://admin.bnd.com.au/media/m1bpjbhm/bd-toughpanel-commercial-sectional-door.webp?rmode=max&width=1308&height=797
(no alt text)
-
https://admin.bnd.com.au/media/iukar1yo/bd-roll-a-door-series2-commercial-door.webp?rmode=max&width=951&height=490
Safe as Can B&D Angled view of Series 2 commercial Roll-A-Door installed in warehouse Home
-
https://admin.bnd.com.au/media/tt4na5tf/bd-controll-a-door-power-drive-roller-door-opener-profile.webp?rmode=max&width=0&height=0
Reliable as Can B&D Controll-A-Door Power Drive Opener Profile
-
https://admin.bnd.com.au/media/3k3b2sqk/bd-smart-pro-sectional-door-opener-profile-5.webp?rmode=max&width=0&height=0
Smart as Can B&D Profile View of Smart Pro Sectional Door Opener
-
https://admin.bnd.com.au/media/yxbf3xdh/bd-garage-door-remote.webp?rmode=max&width=0&height=0
Safe as Can B&D Two Branded Garage Door Remotes
-
https://admin.bnd.com.au/media/l52nemhn/bd-garage-door-smartphone-control.webp?rmode=max&width=0&height=0
Smart as Can B&D Hand holding smartphone in front of house and garage
-
https://admin.bnd.com.au/media/pfqjekdd/bd-auto-lock-garage-doors.webp?rmode=max&width=0&height=0
Safe as Can B&D Garage Door AUTO LOCK™
-
https://admin.bnd.com.au/media/bifpraoy/bd-safety-beam.webp?rmode=max&width=951&height=490
Safe as Can B&D Infrared Safety Beam Home
-
https://admin.bnd.com.au/media/dewinjj1/bd-controll-a-door-smart-sectional-door-opener-profile-5.webp?rmode=max&width=0&height=0
Smart as Can B&D Controll-A-Door Smart Door Opener Profile
-
https://admin.bnd.com.au/media/mswbsv20/social_facebook.webp?rmode=max&width=0&height=0
facebook social
-
https://admin.bnd.com.au/media/1mdhluow/social_youtube.webp?rmode=max&width=0&height=0
youtube social
-
https://admin.bnd.com.au/media/b5ukqdzp/social_linkedin.webp?rmode=max&width=0&height=0
linkedin social
-
https://admin.bnd.com.au/media/0hxb2b1k/bd-garage-doors-pinterest.webp?rmode=max&width=0&height=0
Pinterest Logo
-
https://admin.bnd.com.au/media/xyhfahvw/instagram-64.webp?rmode=max&width=0&height=0
instagram social
-
https://admin.bnd.com.au/media/dixfjpl4/branding_dulux.webp?rmode=max&width=0&height=0
Dulux page
-
https://admin.bnd.com.au/media/2c0jsrqw/asial-australian-security-industry-association-limited-member-logo.webp?rmode=max&width=0&height=0
ASIAL Australian Security Industry Association Limited Member Logo
-
https://www.bnd.com.au/images/app-store-badge.svg
Download on the App Store
-
https://www.bnd.com.au/images/google-play-badge.svg
Get it on Google Play
-
https://pixel.zprk.io/v5/pixel/ok5dCCY8BD.gif?ssid=1
(no alt text)