Garage door opener trouble? Start with these checks
When your garage door won’t respond, the cause can be as simple as a remote battery—or a fault that needs a technician. We’ll help you start with the checks an owner can make safely, identify the right manual and avoid changing settings that protect your family.
First, check whether it is safe to troubleshoot
Stop if the door is crooked, damaged, unusually heavy, jerking or making a new grinding or banging sound. Keep clear of damaged cables, springs and brackets. Do not try another cycle, pull the manual release on a damaged door, or open the motor’s protective housing. Book a repair instead.
For a door that appears mechanically sound, observe it from a safe position and keep its path clear. Isolate the power supplies before cleaning or maintenance, including battery backup if fitted, following the model’s instructions. Power is required for control tests; complete those only with everyone clear and the door in view.
Identify your opener before pressing setup buttons
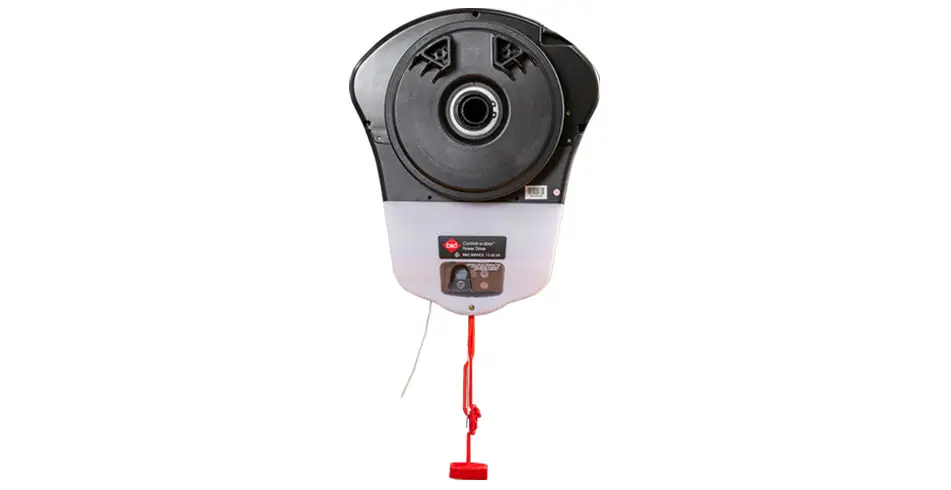
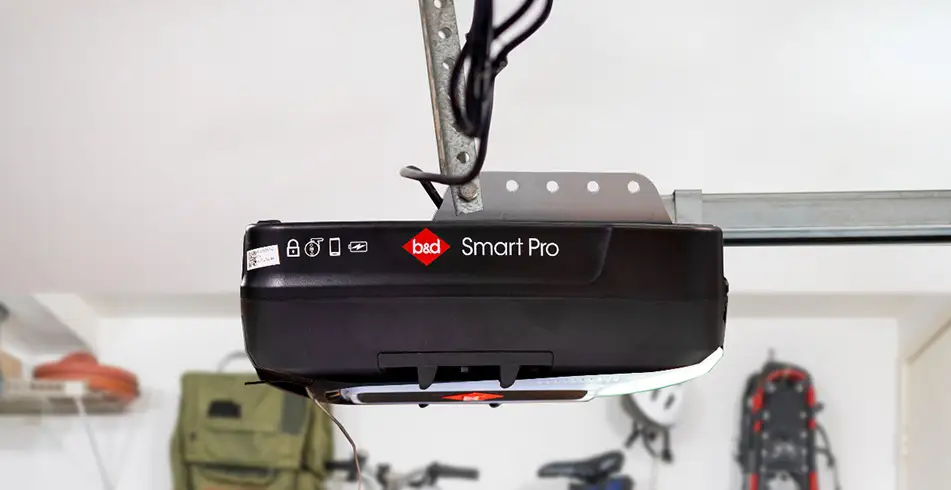
Match the model on your opener’s label before using any instructions. Our Power Drive RDO-1V4 and Roll-A-Pro RDO-1V3 manual (161061_05) and Smart Pro SDO-9V3, Smart SDO-7V3 and Secure SDO-6V3 manual (161083_02) cover different controls. For another model or generation, use our owner manuals or ask us for help.
| Opener generation | Controls to recognise | Relevant manual sections |
|---|---|---|
| Power Drive RDO-1V4 / Roll-A-Pro RDO-1V3 | OPERATE, CODE SET, open/close indicators and service indicator | 18: controls; 19: door status; 21: troubleshooting |
| Smart Pro SDO-9V3 / Smart SDO-7V3 / Secure SDO-6V3 | OPEN, CLOSE, STOP, MODE and separate status indicators | 20: controls; 21: troubleshooting |
A familiar product name does not prove that the controls are from the same generation. Do not apply these model references to a different SDO or RDO version.
The remote doesn’t operate the door
- If the door is safe to operate, check whether another programmed remote works. One working remote helps narrow the problem to the other transmitter or its battery.
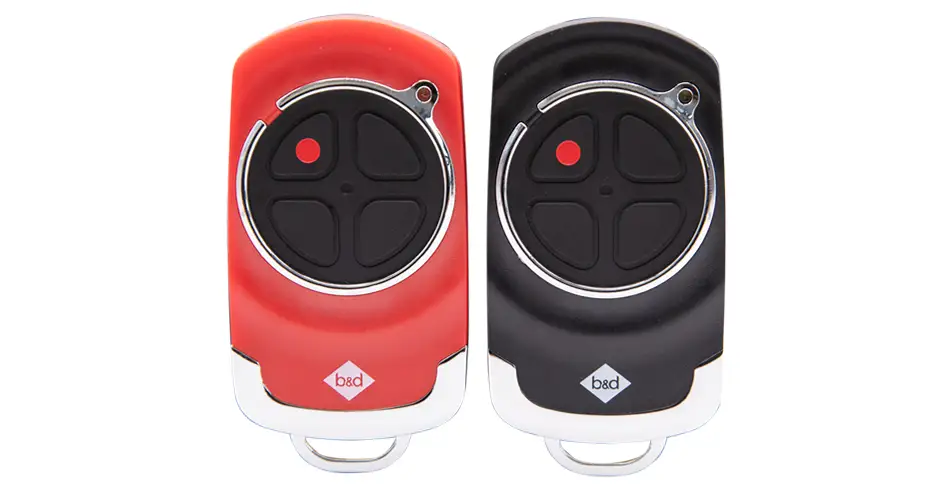
- Check the battery indication and replacement instructions for the remote itself. The Tri-Tran+ transmitters specified with the RDO-1V4/RDO-1V3 models use one 3V CR2032 battery; do not assume that every B&D remote does.
- Keep new and used button batteries away from children and secure the battery compartment. Stop using a remote with a compartment that will not close securely.
- Check whether Vacation Mode is enabled and whether the button has been programmed for door operation. Follow the matching manual before changing either.
- If no control works, check for a known power outage and whether the opener has power. Do not handle damaged leads, wet electrical equipment or internal wiring.
Replacing a battery does not remove a lost remote’s access. If a remote is missing, use our lost-remote guide instead of simply adding a replacement.
The motor runs but the door stays still
A disengaged opener is one possible cause. A drive or door fault is another. If the door is fully closed, undamaged and normally balanced, check the manual’s re-engagement procedure. If you are unsure about its condition, or the drive does not move as expected, stop and contact us. Do not force the trolley, chain, belt or roller-door mechanism into place.
The door stops, reverses or won’t close fully
Check for an obvious object in the doorway from a safe position. If safety beams are fitted, look for something interrupting the beam path and carefully clean an accessible lens without moving its bracket. Safety beams and contact obstruction sensing are different safeguards; a reversing door does not prove that a beam is the cause.
If the problem continues after an obvious obstruction is removed, book a technician. Do not increase the force, alter travel limits or bypass a safety device to make the door close. Those settings need to be assessed alongside the door’s mechanical condition.
Record the warning pattern accurately
For SDO-9V3, SDO-7V3 and SDO-6V3, the following are main-light service/warning patterns after normal operation in manual 161083_02. They are not the separate fault codes shown when MODE is on.
| Main-light flashes | Meaning | Owner’s next step |
|---|---|---|
| 2 | Safety beam is preventing movement | Check for an obstruction; seek help if it persists. |
| 3 | Wireless lock battery low | Use the fitted lock’s battery instructions or ask your dealer. |
| 4 | Wireless safety beam battery low | Check the fitted beam’s battery instructions. |
| 5 | Wireless lock has not unlocked | Stop repeated attempts and arrange assistance. |
| 6 | Maintenance due after the preset cycle count | Book a service. |
| 7 | Backup battery fault | Contact your dealer. |
| 8 | The door encountered an obstruction | Check the doorway; stop if the door is damaged. |
| 9 | Motor overloaded or stalled | Stop operation and arrange inspection. |
| 10 | Battery backup active; mains power off | Check for a power interruption. |
For Power Drive RDO-1V4 and Roll-A-Pro RDO-1V3, alternating open and close indicator flashes mean an overload; rapid flashes of the open indicator indicate interrupted mains power. Use their own manual rather than the sectional-opener table above.
During a power outage
A compatible, fitted and charged backup battery may allow limited operation. It is not fitted to every opener, and the home’s Wi-Fi or internet may also be unavailable. If manual operation is needed, use the procedure for your exact model only when the door is mechanically sound. Start with it closed, keep the doorway clear and remember that disengaging the opener removes its locking restraint.
Do not use manual operation to work around a suspected broken spring or damaged cable. If the garage has no separate pedestrian entrance and you cannot reach the release safely, contact us about access rather than forcing the door.
What to have ready when you contact us
Tell us the opener model, door type, symptoms, which controls still work, the exact light pattern and whether anything changed after a storm, impact or power failure. Include the last service date if known. We can then help arrange the right inspection and discuss any further repair work.